Dream of six-packs or 11-line abs?
Let me show you how to make the dream come true!
The list below includes 4 most effective ab exercises voted by plenty of fitness trainers and exercise enthusiasts. They’re simple to practice at home without driving to the gym or requiring a personal trainer.
If you keep do these daily, I assure you the results will be shown after 30 days.
Crunch
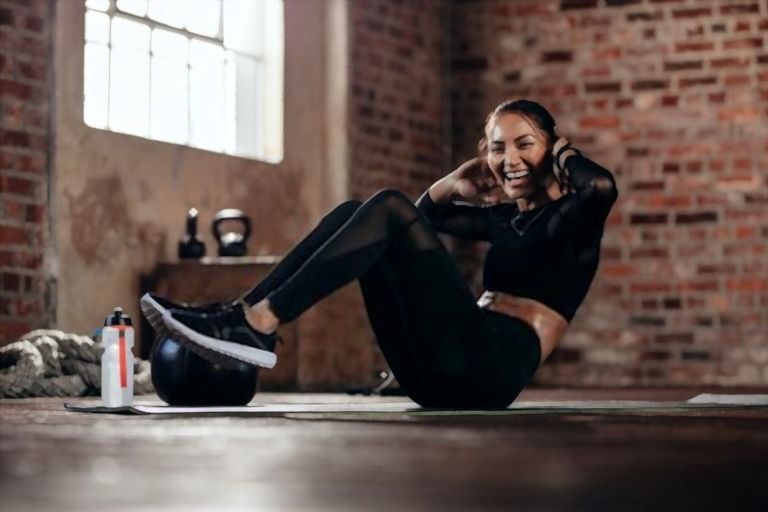
Good for: upper abdomen
Lay down on your back with knees bent and hip-width distance apart (or all the way together, whatever you feel comfortable with).
Place thumbs behind the ears with fingertips support the head and remember to place your fingers to not put pressure on the neck.
Elbows are out nice and wide chest-lifts and chest are open.
When lifting up, crunching up slowly and then releasing down. That’s one set. Do 3 sets of 15, resting 90 seconds each.
Reverse Crunch

Good for: Lower abdomen and obliques
Lay down on your back, bringing knees up with hands tucked behind the back of your head. Make sure to keep your fingers spread out nice and wide with thumbs behind your ears to support your head like a ball.
Heels can be next to your butts or up in a 90-degree angle whatever you feel comfortable with. Some people even cross at the ankles. Exhale when you lift chest-to-thigh and inhale when stretching it out so that the knees go in line with the hips.
That’s one rep. Do 3 sets of 15, resting 90 seconds each.
Bicycle Crunches

Good for: Obliques
Lay down on the floor with one knee come up and one leg extended.
For those who want to modify, lay your hands down by your sides and shift from one leg to the other as you are on a bicycle.
Reach through the tips of your toes, lengthen the core.
Level 2: Lace your fingers and place them behind your head, thumbs behind ears and fingertips support the head. Keep your chest open.
Lift up your head towards knee and elbows are out nice-and-wide. Rotate your shoulders crossing over to the kneecap and switch (exhale when switching and inhale so that you take one full breath on each rotation). The higher the feet, the easier.
Things to avoid: Not choking the neck to prevent putting pressure on it.
Do 2 sets of 15 reps each side, resting 10 seconds each.
Side-To-Side Crunch

Good for: Obliques
This move is similar to a regular crunch but the difference is you will turn to either side.
The same position to the normal crunch - with your knees bent a 90-degree angle, feet and back laid flat on the floor, arms by sides, and hands put behind your head.
Head and shoulder blades curled forward off the mat.
When lifting up, turn and hit the obelisks, which is the side of dominoes. Pause for a second and then return to the starting position. Repeat to the other side.
Do 3 sets of 10 reps, rest 10 seconds each.
Seated Russian Twist

Sit on the floor, lean back slightly to form a 45-degree angle to the ground, and lift your legs up and cross them. For newbies, just keep your heels on the floor if you’re not strong enough.
Remember to keep your torso at the top of the crunch position.
Now, twist your torso from side to side.
Level 2: Do this with a medicine ball or dumbbell. Tap it from side to side.
Level 3: Bring your legs up while twisting your torso side to side.
Do 3 sets of 10 to 30 reps, depending on your physical health and endurance. Rest 20 seconds each.
Plank
Good for: Abdomen, back, shoulder, chest, and hips
There are many types of planks and I’ll show you all.
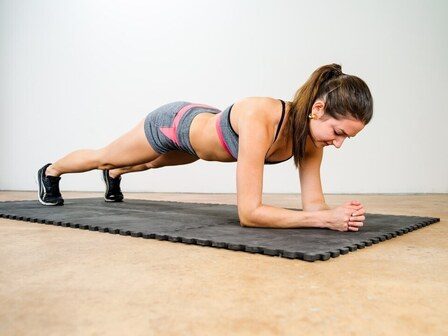
Forearm Plank

With this move, the forearm form is paramount.
Keep your shoulders directly over your elbows with hands in a nice extension and the finding length from the crown of the head all the way to your tailbone.
Now, simply tuck the toes under and lift the knees off of the ground.
Straight Arm Plank

Start on the knees, the same thing with the forearm plank. Always have your knees to come back to.
From here, the form is all about stacking the joint so, shoulders directly over the wrists with arms long-and-straight, and spine long. Once you’ve mastered this, tuck the toes under, lift the hips off, and that’s the full plank.
Side Plank And Reach Through
Start in the right side plank with a right forearm on the floor with left leg stacks on top of right, left arm extended straight in the air at shoulder level, and elbow under the shoulder.
This is the starting position.
Inhale and engage abs. Rotate slowly your chest down toward the ground while moving the left arm under across the chest and exhale.
Then, raise back to the starting position. That’s one rep, do 2 sets of 10 on each side, and rest 10 seconds each.
Cross Mountain Climbers

Good for: Transverse and oblique abs
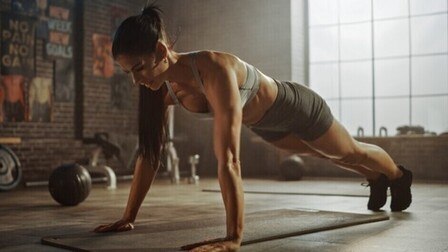
Start by getting down into a high plank position with arms straight and hands under upper-body – a bit wider than hip-width distance. Your body should be in a straight line from head to feet while keeping your core and abdomen tighten all the time.
This is the starting position.
Now, bring the left knee toward the right elbow then return to the starting position, repeat on the right side.
That’s one rep. Do 3 sets of 15 reps, rest 10 seconds each.
Conclusion
See? Very easy to do at home, right?
Of course, in a couple of first few days, your abdomen and obliques will be sore but that’s a good sign. Every day, just spend around 30 to 45 minutes to practice all these exercises, and after a month, you’ll see a big difference.
Don’t give up!
